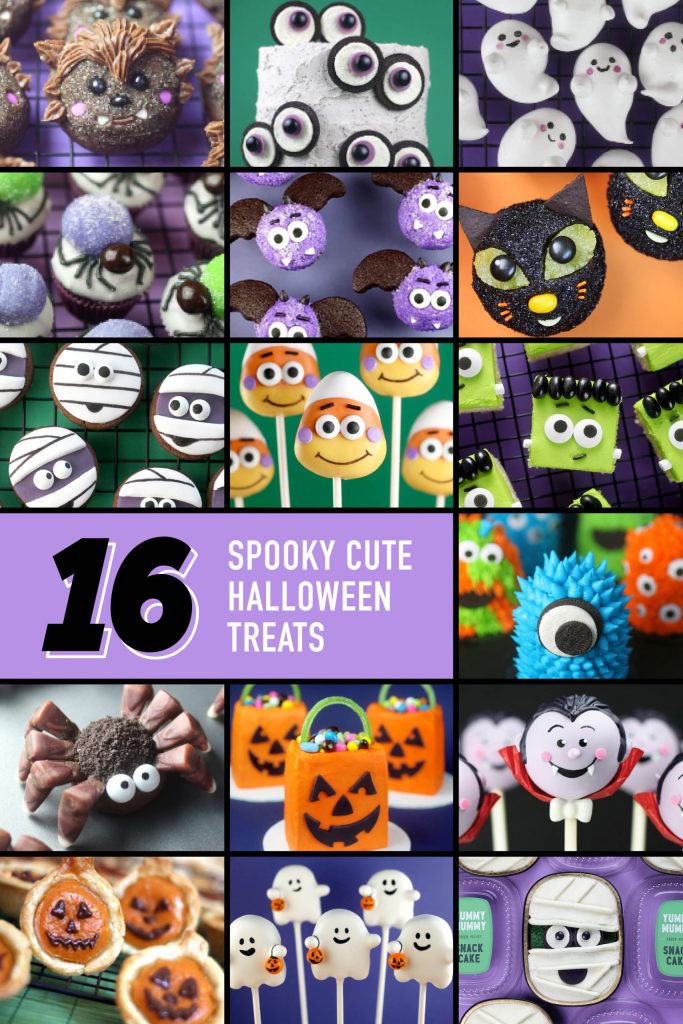

Hey Boos! October is here, and it’s time to get into the Halloween spirit with a collection of spooky cute Halloween treats that are as adorable as they are delicious. From ghostly cupcakes to creepy cookies and bewitching cake pops, these sweets are perfect for parties, trick-or-treat handouts, or cozy nights in. Decorated with candies, sprinkles, and a touch of Halloween magic, these treats will make you scream with delight and inspire your baking adventures all month long. Let’s dive into these frightfully fun desserts!

Key Takeaways
- Halloween treats combine spooky themes with cute, approachable designs.
- Perfect for parties, gifting, or family baking projects.
- Easy to customize with candies, sprinkles, and edible decorations.
- Includes cakes, cupcakes, cookies, and cake pops for variety.
- Kid-friendly and great for bakers of all skill levels.
- Make-ahead options for stress-free Halloween celebrations.
Why You’ll Love These Halloween Treats
These spooky cute treats are the perfect way to celebrate Halloween with a mix of creepy and charming. They’re easy to make, visually stunning, and packed with flavors that everyone loves. Whether you’re hosting a haunted gathering or surprising trick-or-treaters, these desserts will steal the show.
Fun and Festive
With designs like ghosts, pumpkins, and witches, these treats bring Halloween vibes to life. They’re sure to impress guests and spark joy at any spooky event.
Perfect for All Skill Levels
From simple cookies to decorated cake pops, there’s something for every baker. Kids can join in on the decorating fun, making it a great family activity.
Spooky Cute Halloween Treat Recipes
Here’s a lineup of bewitching treats to make your Halloween extra sweet:
Ghostly Vanilla Cupcakes
These ghostly vanilla cupcakes are fluffy, moist, and topped with swirled white frosting to resemble friendly ghosts. Add candy eyes for an extra cute touch.
- Prep Time: 20 minutes
- Bake Time: 18-20 minutes
- Makes: 12 cupcakes
Pumpkin Spice Cookies
Soft and chewy pumpkin spice cookies are shaped like mini pumpkins and decorated with orange icing and green candy stems. They’re a fall favorite with a Halloween twist.
- Prep Time: 15 minutes
- Bake Time: 10-12 minutes
- Makes: 24 cookies
Witch Hat Cake Pops
These witch hat cake pops are made with chocolate cake, dipped in black candy melts, and topped with a candy buckle. They’re a wickedly adorable addition to your dessert table.
- Prep Time: 30 minutes
- Chill Time: 1 hour
- Makes: 24 cake pops
Spider Web Chocolate Cake
This spider web chocolate cake is a rich, fudgy masterpiece with a glossy chocolate ganache and white icing piped into a spooky spider web design.
- Prep Time: 40 minutes
- Bake Time: 25-30 minutes
- Serves: 12 slices
Monster Eye Sugar Cookies
These monster eye sugar cookies are buttery and crisp, decorated with colorful icing and candy eyes to look like playful Halloween monsters.
- Prep Time: 20 minutes
- Bake Time: 10-12 minutes
- Makes: 24 cookies
Candy Corn Bark
This candy corn bark combines layers of white and dark chocolate with candy corn for a sweet, crunchy treat that’s as festive as it is easy to make.
- Prep Time: 15 minutes
- Chill Time: 30 minutes
- Makes: 12 servings
Mummy Brownie Bites
These mummy brownie bites are fudgy brownies drizzled with white chocolate to create a mummy wrap effect, complete with candy eyes peeking out.
- Prep Time: 20 minutes
- Bake Time: 15 minutes
- Makes: 24 bites
Essential Ingredients
To create these Halloween treats, stock up on:
- All-purpose flour: For cookies, cakes, and cupcakes.
- Sugar: Granulated and powdered for baking and icing.
- Butter: For rich, buttery flavor in cookies and cakes.
- Chocolate: Dark, milk, or white for cakes, bark, and cake pops.
- Candy melts: In black, orange, and white for decorating.
- Candy eyes and sprinkles: For spooky, cute designs.
- Food coloring: Orange, black, and green for festive icing.
- Pumpkin spice: For fall-inspired flavors.
- Vanilla extract: For classic sweetness.
- Candy corn: For bark and decorations.
Pro Tip: Shop for Halloween-themed candies and sprinkles early to get the best selection for decorating.
Kitchen Tools Needed
- Mixing bowls: For batters and icings.
- Baking sheets and pans: For cookies, cakes, and brownies.
- Piping bags and tips: For precise decorating.
- Cookie cutters: Pumpkin, ghost, or bat shapes.
- Lollipop sticks: For cake pops.
- Electric mixer: For smooth batters and frosting.
- Microwave or double boiler: For melting chocolate and candy melts.
Halloween Treat Recipes
Here’s a detailed recipe for one of the crowd favorites: Witch Hat Cake Pops.
Witch Hat Cake Pops Recipe
Serves: 24
Prep Time: 30 minutes
Chill Time: 1 hour
Total Time: 1 hour 30 minutes
Ingredients
- 1 baked chocolate cake (9×13-inch, homemade or box mix)
- 1/2 cup chocolate frosting
- 2 cups black candy melts
- 24 lollipop sticks
- Yellow candy melts (for buckles)
- Halloween sprinkles
- Candy eyes (optional)
Instructions
- Crumble the cake: Break the cooled chocolate cake into fine crumbs in a large bowl.
- Mix with frosting: Add frosting and mix until the mixture holds together when pressed.
- Shape the hats: Roll into 24 cone-shaped balls, tapering one end to form a witch hat. Chill in the fridge for 30 minutes.
- Melt candy melts: Microwave black candy melts in 30-second intervals, stirring until smooth.
- Dip the pops: Dip the end of a lollipop stick into the melted candy, then insert into the wide end of a cake cone. Dip the entire cone in black candy melts, tapping off excess. Place on parchment paper to set.
- Decorate: Pipe small yellow candy melt squares for buckles. Add sprinkles or candy eyes for extra flair. Let set for 15 minutes.
- Serve: Display in a stand or wrap in cellophane bags for gifting.
Notes
- Use a foam block to hold cake pops upright while they set.
- Work in small batches to keep candy melts smooth.
Decorating Tips
- Spooky Cute Designs: Use candy eyes, sprinkles, and piped icing to create ghosts, spiders, or pumpkins.
- Color Palette: Stick to orange, black, white, and purple for a classic Halloween look.
- Edible Glitter: Add a touch of sparkle for extra magic.
- Personalize: Write names or spooky messages with icing for a fun twist.
Serving Suggestions
- Halloween Party: Arrange treats on a themed dessert table with cobweb tablecloths and plastic spiders.
- Trick-or-Treat: Package in cellophane bags with ribbons for easy handouts.
- Gifts: Box up cookies or bark in festive tins for friends and neighbors.
Storage and Make-Ahead Tips
- Store: Keep cookies and bark in airtight containers at room temperature for 1-2 weeks. Refrigerate cupcakes and cake pops for 3-5 days.
- Freeze: Freeze undecorated cookies, cake balls, or brownies for up to 2 months. Thaw and decorate before serving.
- Make Ahead: Prepare cookies, bark, and cake pop bases 1-2 weeks in advance. Add decorations closer to serving for freshness.
Conclusion
These spooky cute Halloween treats are the perfect way to celebrate the season with a mix of creepy and adorable. From ghostly cupcakes to witch hat cake pops, each recipe is designed to bring fun and flavor to your Halloween festivities. Whether you’re baking for a party or treating your family, these desserts will make October unforgettable. Grab your spooky sprinkles, fire up the oven, and let the Halloween baking begin!
FAQ
How long can I store these Halloween treats?
Cookies and bark last 1-2 weeks at room temperature in airtight containers. Cupcakes and cake pops should be refrigerated for 3-5 days or frozen for up to 2 months.
Can I make these treats in advance?
Yes, prepare cookies, bark, and cake pop bases 1-2 weeks ahead. Add fresh decorations like frosting or sprinkles before serving.
Are these treats kid-friendly to make?
Absolutely! Kids can help decorate cookies, roll cake pops, or sprinkle candies, with adult supervision for baking.
Can I make these desserts gluten-free?
Use gluten-free flour for cookies and cakes, and ensure all candies and decorations are gluten-free.
How do I package these for gifting?
Use festive tins, cellophane bags, or boxes tied with orange and black ribbons. Add spooky tags for a personal touch.
What’s the best way to serve these treats?
Display on a Halloween-themed table or serve in small portions for easy snacking at parties or events.